If you're managing a list that is not Staff, Adjunct/Core Faculty, Boulder Students, or Boulder Grad Students, you are responsible for managing the folks on the list and the like. IT remains an owner on all lists to be able to make changes, prevent spam, etc.
To start, login to the listserv web interface at this address: https://listserv.naropa.edu/scripts/wa.exe?
Your login credentials are your naropa email and your password. Once you've got that, you can select "Login"

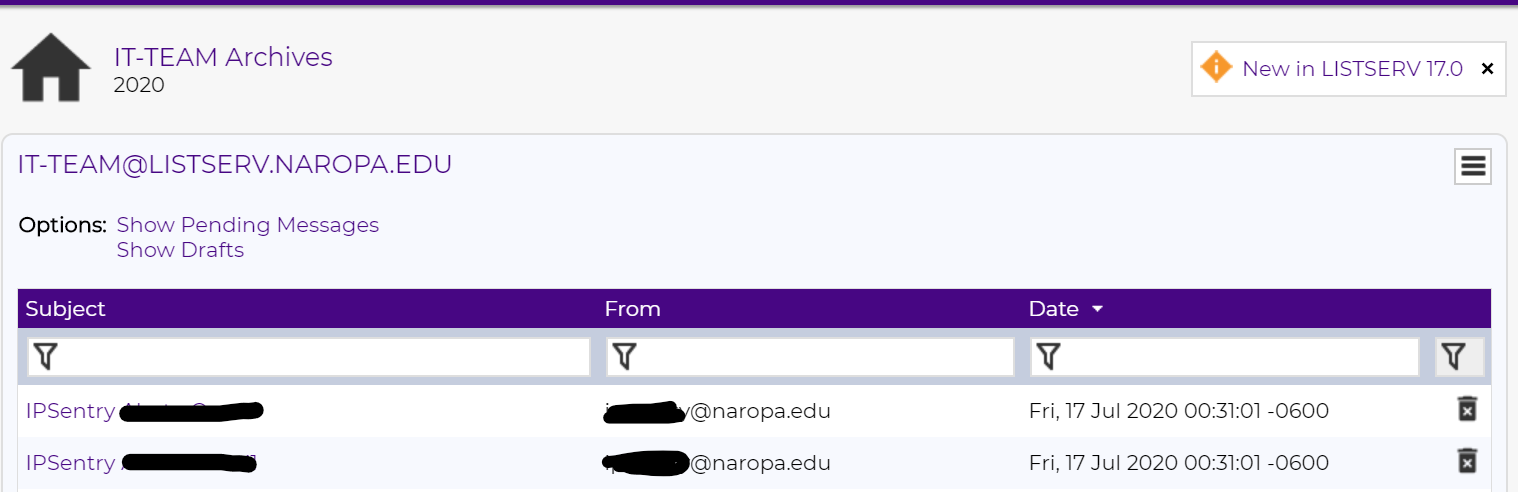
When you login, you will see something similar to the image below the first page you see will always be the Archive page:

To view lists that you are an owner of select "List Dashboard" on the right hand side

The list will appear similar to below:

If there are previous posts to the list, you can select the list name and you will see its archives, if there are any:

The archives are listed by year and all posts will be listed with the subject, who sent it, and the date/time
To see the subscribers to the list, you can click on the number that is shown directly after the list name which will bring you to a list of all the subscribers, their email addresses, and the date they were added to the list:


To check and see if someone is currently subscribed to your list(s) select subscriber management from the left panel

You should now see the following page:

PLEASE NOTE! IF YOU ARE THE OWNER OF MULTIPLE LISTS, PLEASE MAKE SURE YOU'VE GOT THE CORRECT LIST SELECTED AT THE TOP. CLICK THE DROP DOWN ARROW (SHOWN BELOW) AND SELECT THE CORRECT LIST. YOU MUST THEN PRESS THE "UPDATE" BUTTON TO THE RIGHT TO CHANGE TO THAT LIST

From there, you can search for a subscriber by their name or by their email.

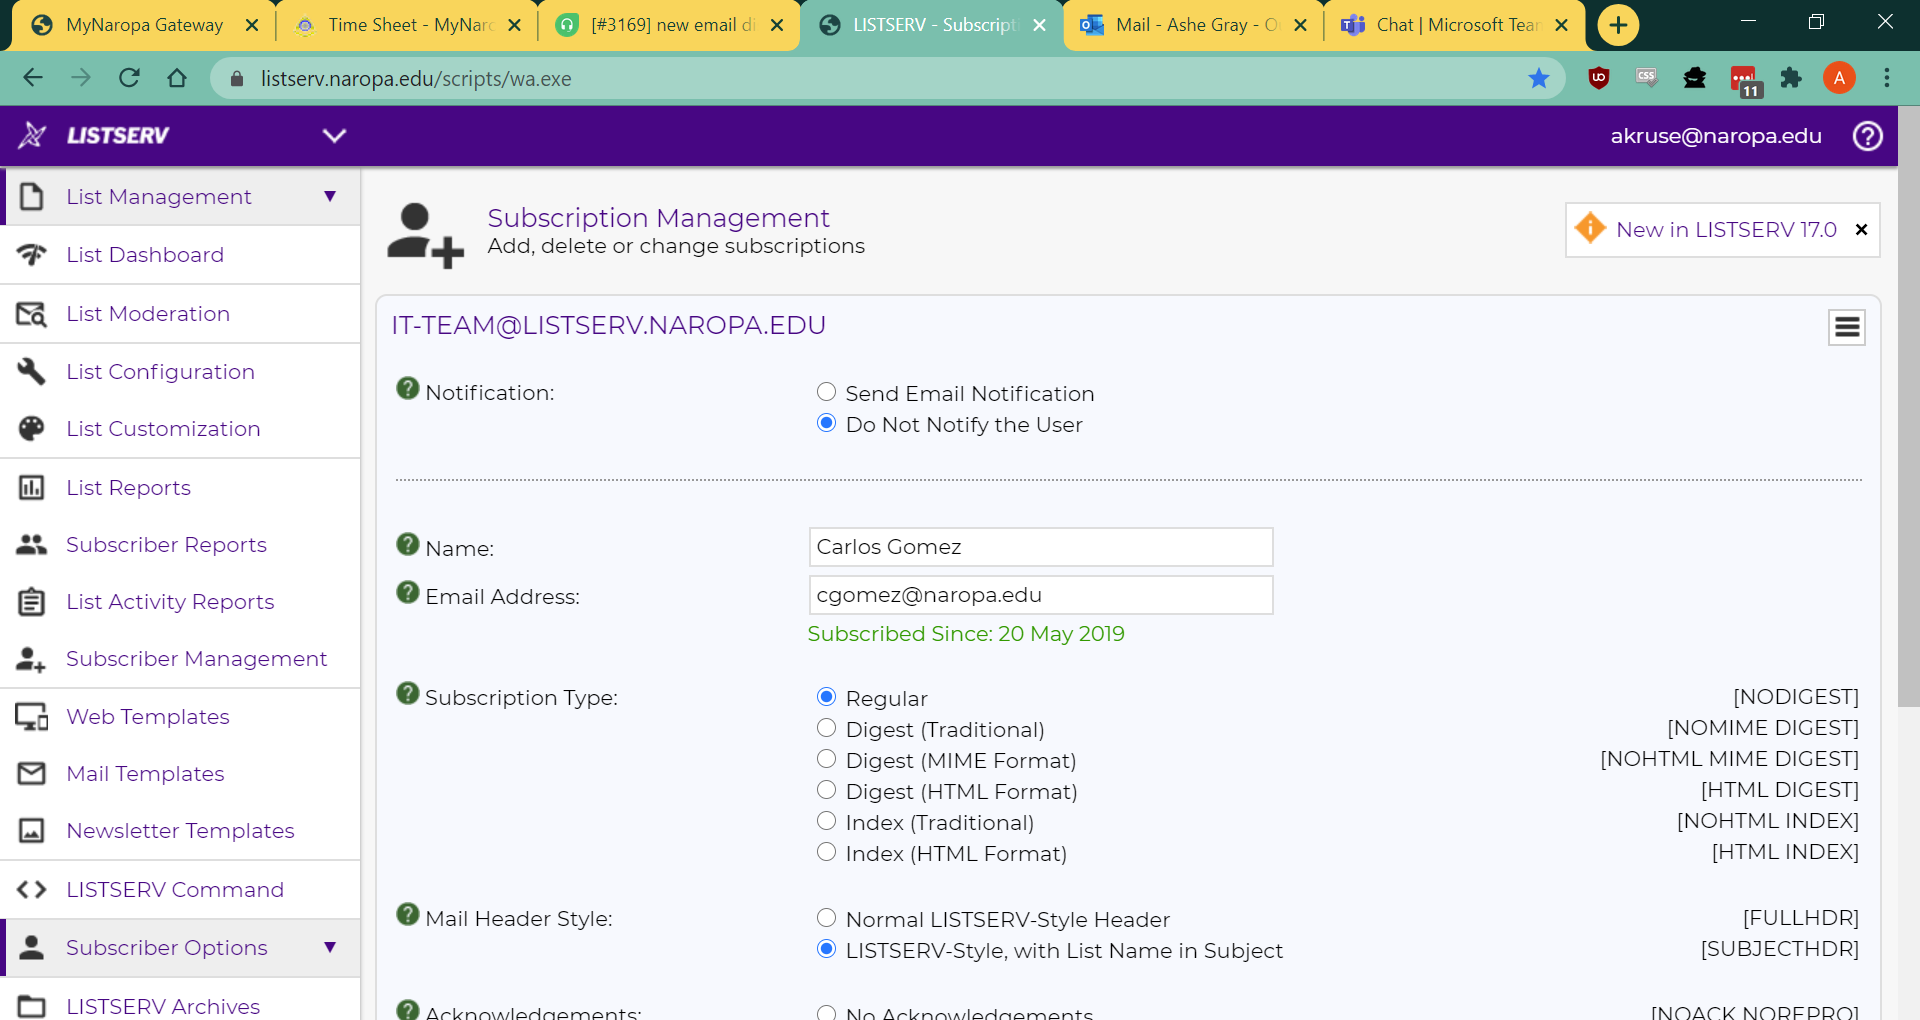
If they are part of the list, you'll get the following page:

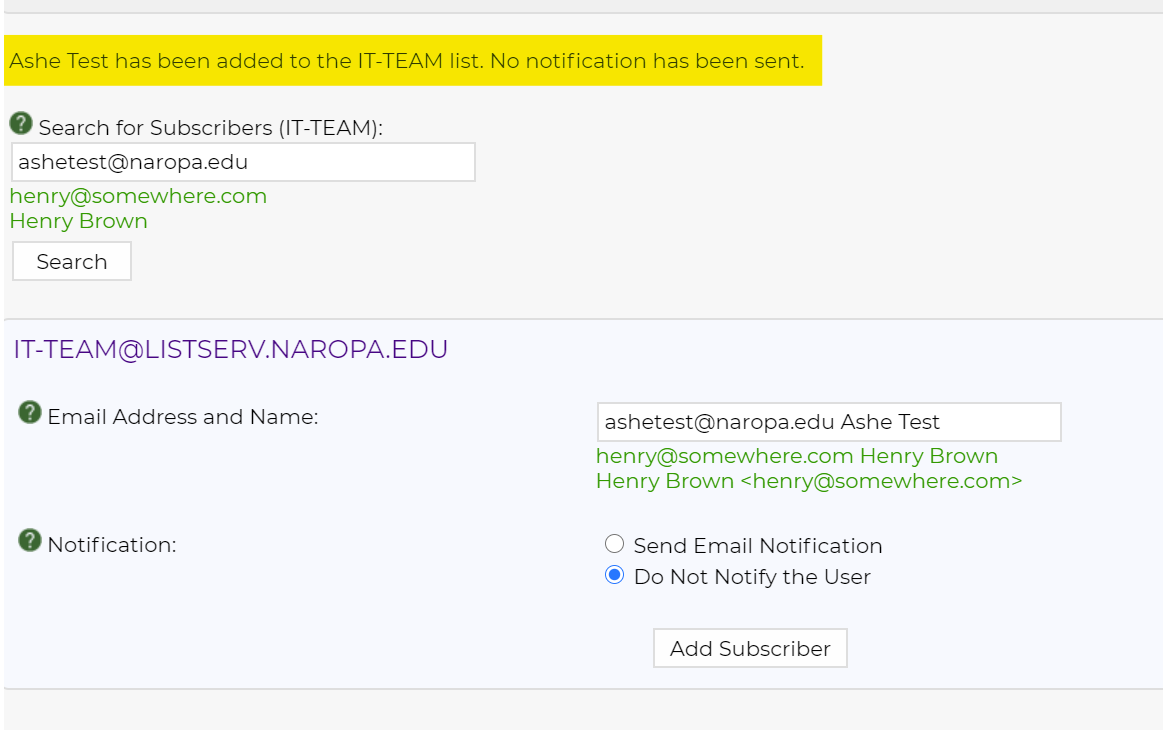
If they aren't, you'll see get the page below, the things you'll want to change/adjust will be adding their name in the format email@naropa.edu FirstName LastName. You can then opt to have a notification sent. This, by default (for all lists is set to not notify). Once you've got that filled in, select "add subscriber"

If an add has been successful, you should see the following screen:
To REMOVE a subscriber to the list - return to the Subscriber Management page and enter the name or email into the "search for subscriber" box mentioned in the previous few steps. If they are a subscriber you'll get the following page once more, as stated previously, but you'll need to scroll all the way down to the bottom where there are a couple of options:
You will want to select "Delete" DO NOT SELECT TO 'DELETE FROM ALL LISTS" if they are part of other lists (e.g., staff, faculty, etc) they will be removed from those by IT

Once the user is successfully removed, you'll see the following screen

TO ADD USERS IN BULK: You need to create a .csv file. you can do this in Microsoft Excel. The list of bulk users must be formatted in a specific way if you want to add their first/last names as well as their emails. THE HOW TO IS AT THE END.
To add users in bulk, select "List Dashboard" from the left sidebar, then select the number listed next to the List name under the "subscribers column on the list you're working with. At the top of the list of subscribers, you'll see the following:

Click the "Bulk Operations" link a box will open up showing the options shown below. Here is what each option means:
Add the imported addresses to the list: this is exactly that, you'll add all of the addresses that are on the list. If that user is already on the list. This is a great option if you know you're not adding folks who are already on the list.
Remove the imported addresses from the list: Have all the fourth year undergrad workstudies graduated and you've got their names in a list? You can format them appropriately (explained at the very end), and you can use this option, knowing that they won't be needing to be on the workstudy listserv any longer. It doesn't affect any other subscribers.
Remove the imported addresses from the list: Have all the fourth year undergrad workstudies graduated and you've got their names in a list? You can format them appropriately (explained at the very end), and you can use this option, knowing that they won't be needing to be on the workstudy listserv any longer. It doesn't affect any other subscribers.
The final option "Remove the imported addresses from all lists"should NOT be used. If they are members of another list, they will be removed by IT if they are leaving the university for whatever reason

Want to know how to format that CSV? Here you go!
The format is as follows: newsubscriber1@naropa.edu FirstName Lastname
So, for instance to add a bunch of Ashe's it would look like the following, but in a .CSV
asheone@naropa.edu Ashe One
ashetwo@naropa.edu Ashe Two
ashethree@naropa.edu Ashe Three
and so on...
Already have an Excel sheet with email in one column, first in a second column, and last in a third column but don't want to do all that copy and pasting? No problem! Use the following formula (but you may need to adjust the chosen cells for the formula if you've got headers in A1-C1)
=A1&" "&B1&" "&C1
=A1&" "&B1&" "&C1

You can then apply it by clicking and dragging the right lower corner of the first successfully merged cells down to the very bottom of your list:

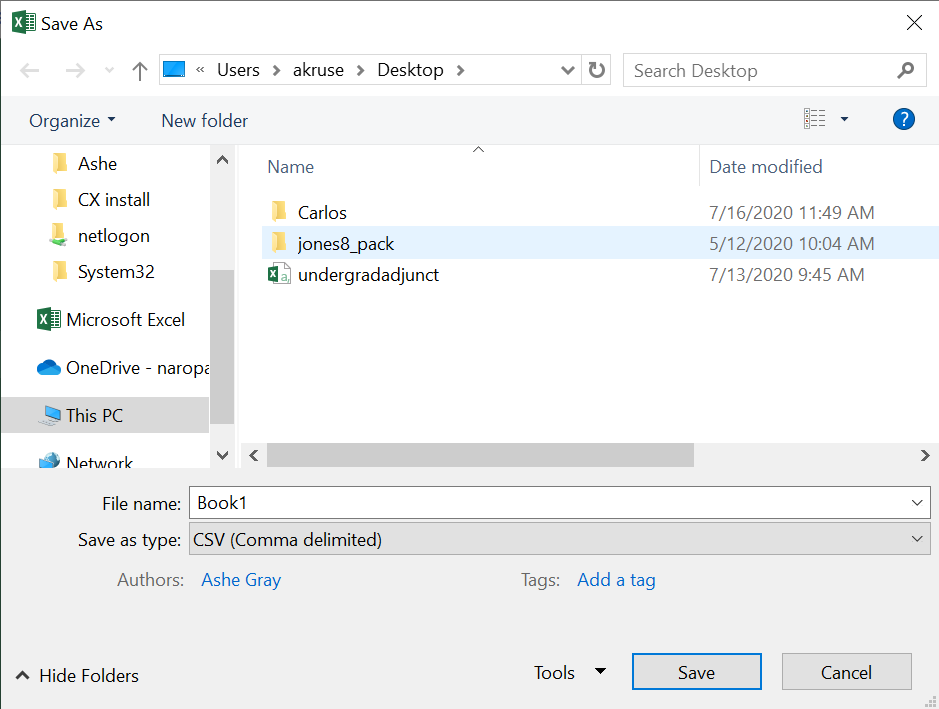
You will then need to SAVE AS as a .CSV (comma delimited) to your computer (not OneDrive) following the steps below: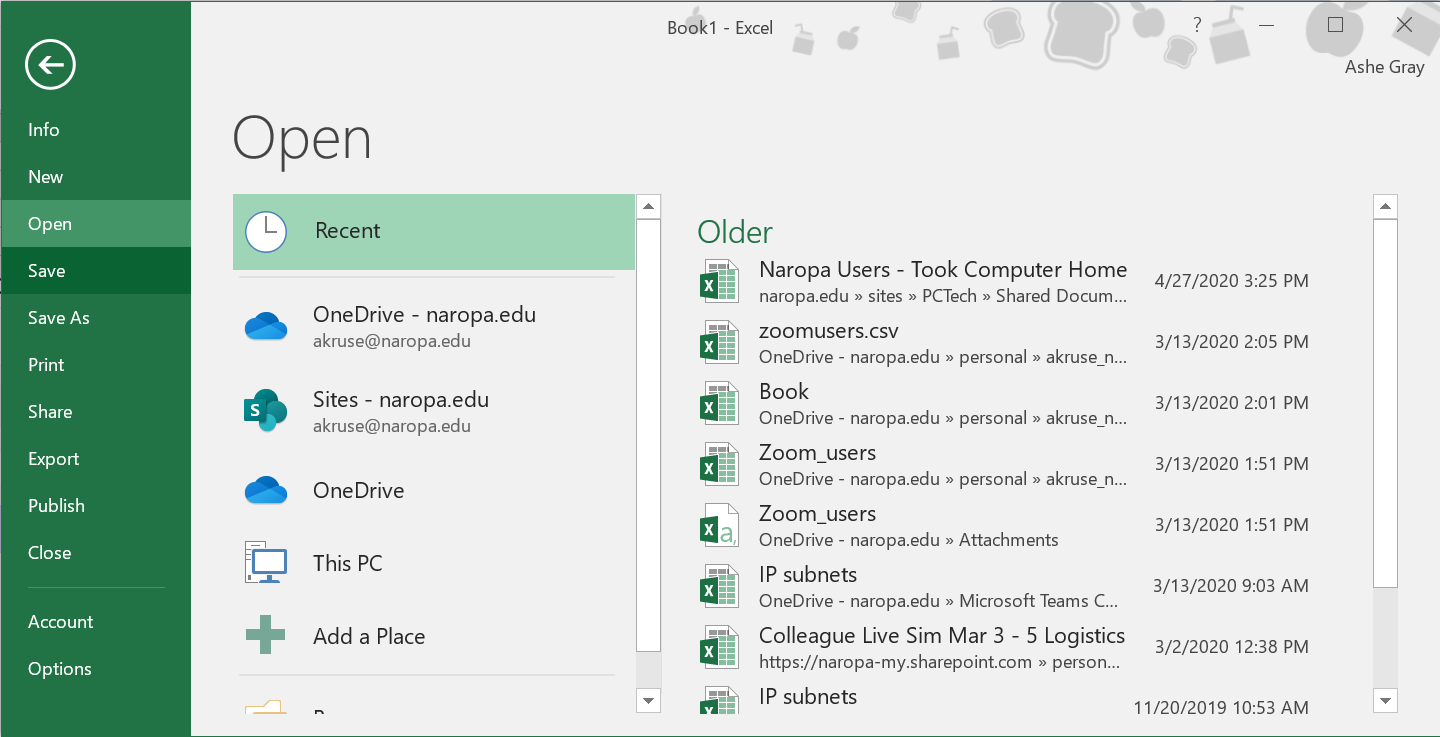

Was this article helpful?
That’s Great!
Thank you for your feedback
Sorry! We couldn't be helpful
Thank you for your feedback
Feedback sent
We appreciate your effort and will try to fix the article